


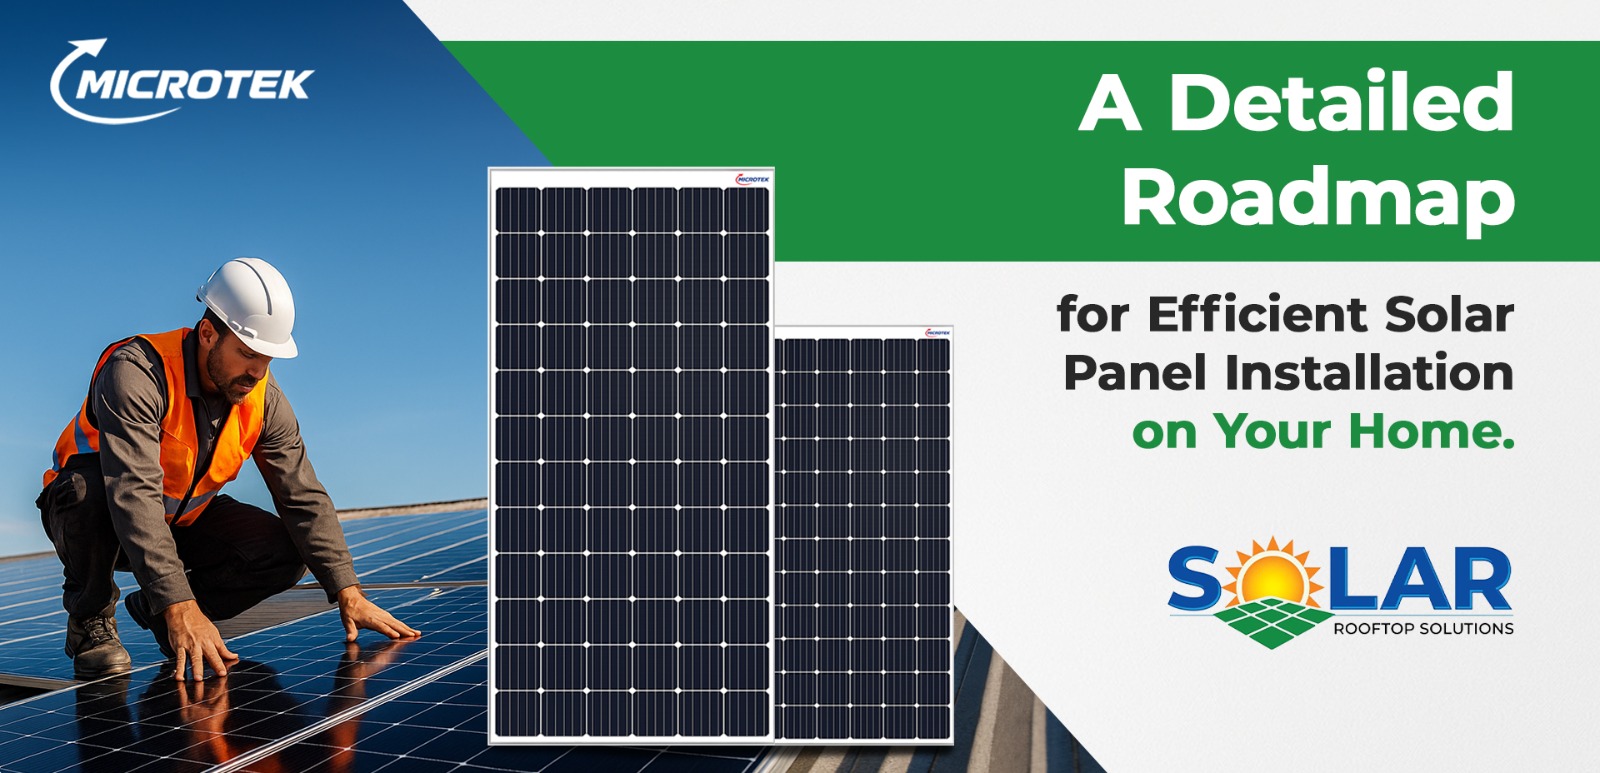
A Detailed Roadmap for Efficient Solar Panel Installation on Your Home
Transitioning to solar power will save us the electricity bill and is good for the environment as well. But to maximize the potential of solar power, you need a good plan in the first place. It is confusing at first when installing solar panels. But it can be relatively easy and seamless by doing it in the correct steps. This blog will walk you through a step wise plan for installing solar panels in your home.
Step 1: Know Your Energy Needs
First you have to know how many units of electricity your home uses. Look at your past electricity bills. Determine the average units (kilowatt hours or kWh) that you use per month. This will help you decide how many solar panels you will need.
A small household can use 150 to 300 units a month.
A big household can use 400 to 600 units.
If you use air conditioners, heaters or pumps your usage will be higher.
Step 2: Observe If Your Roof Is Suitable
Solar panels need sunlight to work. You need to know if your roof get sufficient sunlight during the day. Here are some of the things to check:
Is your roof sloping or flat?
Is it south facing? South facing rooftops receive maximum sunlight in India.
Are there any obstructions of trees or buildings?
Can the roof strongly hold the panels?
Step 3: Select the Proper Solar System Type
There are three primary solar systems. Pick one that suits your requirements:
On-grid system – It is wired into the power grid. You receive electricity from the sun during the day and from the grid at night. You can also return excess power to the grid.
Off-grid system – This is not on the grid. It stores surplus energy in batteries. This is helpful in areas that do not have constant power.
Hybrid system – This is a combination of both on-grid and off-grid. It utilizes the grid, solar energy, and batteries.
If there are constant power outages in your location, a hybrid or off-grid system is preferable. For locations with constant power in cities, on-grid systems are prevalent.
Step 4: Get the Solar Installer Right
A quality solar installer will take you through the whole thing. They will inspect your roof, assist you in selecting the right system, and wire everything. You should search for:
Qualified and seasoned installers
A reputable company with good feedback
A valid warranty on installation and service
Microtek provides professional and secure solar panel installations. We ensure the experience is seamless and convenient for all of our customers.
Step 5: Know About Government Subsidies and Net Metering
The Indian government provides subsidies on home solar systems. You can avail up to 40% subsidy on small rooftop solar systems under some schemes. Your installer will generally assist you with applying for these.
Net metering is another advantage. If your system generates more electricity than you consume, the excess power is supplied to the grid. You earn credits as a reward. This lowers your electricity bill even further.
Ensure your installer assists you in registering for subsidies as well as net metering.
Step 6: Select Quality Solar Equipment
Solar panels are not all of the system. You also require:
Inverters – They transform solar energy into usable electricity.
Batteries – In off-grid or hybrid systems, batteries provide excess energy.
Mounting structures – These support the panels on your roof.
Cables and safety devices – These join them all safely.
Select products from renowned manufacturers. Cheap components might be cheaper in the short term but can fail prematurely or become dangerous.
Microtek employs high quality panels, inverters, and batteries. We also provide long warranties and good customer support.
Step 7: Installation and Testing
After you decide on the products and plan, the installer will install them. The installation is typically 1 to 3 days depending on the size. The steps are:
Fixing the panels on the roof
Connecting the wiring and inverter
Setting up batteries if necessary
Testing the system for safety and performance
Once installed, the installer will assist you with approval and paperwork from your electricity supplier.
Step 8: Start Using Solar Power
Once tested and approved for the grid, you can begin to use your solar system. Observe your electricity bills. You will see a significant reduction. You can even monitor your system using mobile apps offered by some inverters.
Maintain your system with basic checks:
Clean panels every month
Ensure wires are tightened
Call your installer annually for service
Conclusion
Solar panel installation is a wonderful long-term investment. It saves one money and the environment. But to receive the best outcomes, you need to adhere to the steps carefully. Begin by ensuring your electricity consumption and roof. Ensure that you select the appropriate system as well as dealing with reliable installers.With our easy-to-install, reliable, and budget-friendly solar systems, Microtek is making going solar a smooth journey. Be it a city or village, we are ready to power your home with clean energy.
Solar is not the future anymore; it is the present. The earlier you start, the more you save.
- Copy :
 Copy Link